


by Mauricio Rojas, on Jul 14, 2020 3:57:13 PM
If I have a .NET Core 3.1 app, that will run in Windows OS, can I use COM?
Yes, you can use COM, is the answer. The support is there, but I wanted to give a tour of using COM in .NET Core, so you have an idea of how the current experience is.
So we will use COM from:
- A command line application
- A Windows Forms application
- A Web Application
Using COM from a .NET Console App
Step 1.
Create a C# .NET Console App using the VS wizard.
Step 2.
Add a COM Reference to your application. That is pretty straight forward. Just right click on your project references and select add COM Reference.
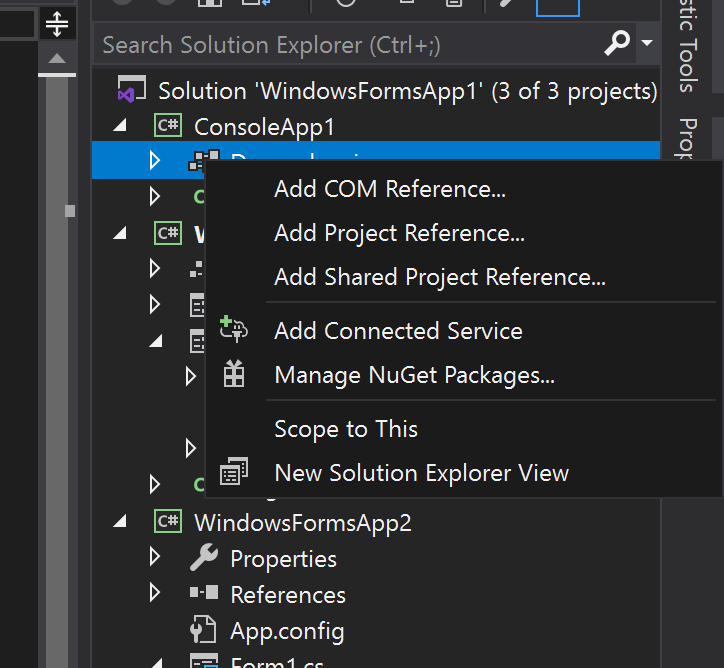
For this example I decided to use a the Microsoft CDO library:
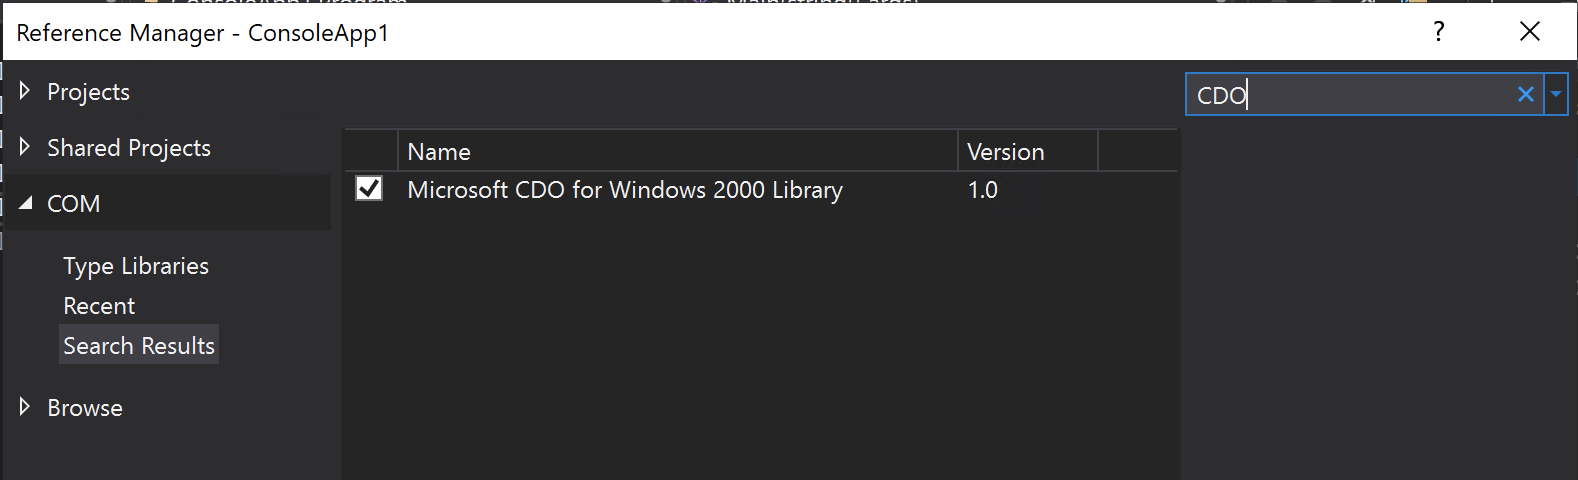
This library depends on ADODB 6.0.0 so you must add this reference too:
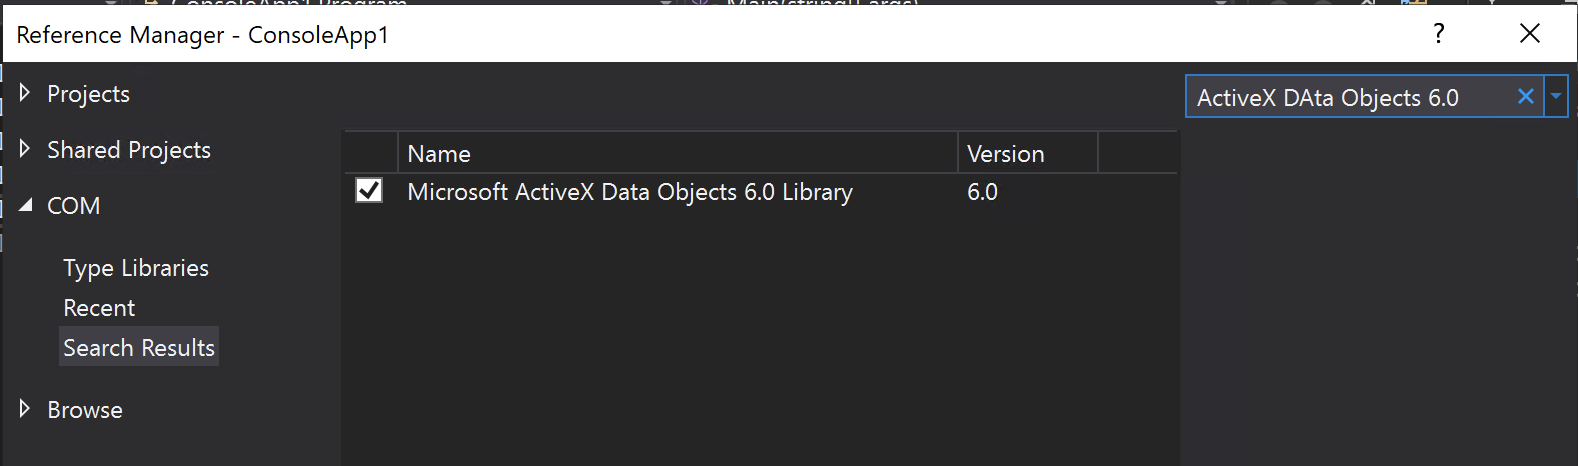
In your project that will generate COMReferences like these:
<Project Sdk="Microsoft.NET.Sdk">
  <PropertyGroup>
    <OutputType>Exe</OutputType>
    <TargetFramework>netcoreapp3.1</TargetFramework>
  </PropertyGroup>
  <PropertyGroup Condition="'$(Configuration)|$(Platform)'=='Debug|AnyCPU'">
    <PlatformTarget>x86</PlatformTarget>
  </PropertyGroup>
  <ItemGroup>
    <COMReference Include="CDO.dll">
      <Guid>cd000000-8b95-11d1-82db-00c04fb1625d</Guid>
      <VersionMajor>1</VersionMajor>
      <VersionMinor>0</VersionMinor>
      <WrapperTool>tlbimp</WrapperTool>
      <Lcid>0</Lcid>
      <Isolated>false</Isolated>
    </COMReference>
    <COMReference Include="ADODB.dll">
      <Guid>b691e011-1797-432e-907a-4d8c69339129</Guid>
      <VersionMajor>6</VersionMajor>
      <VersionMinor>0</VersionMinor>
      <WrapperTool>tlbimp</WrapperTool>
      <Lcid>0</Lcid>
      <Isolated>false</Isolated>
    </COMReference>
  </ItemGroup>
</Project>
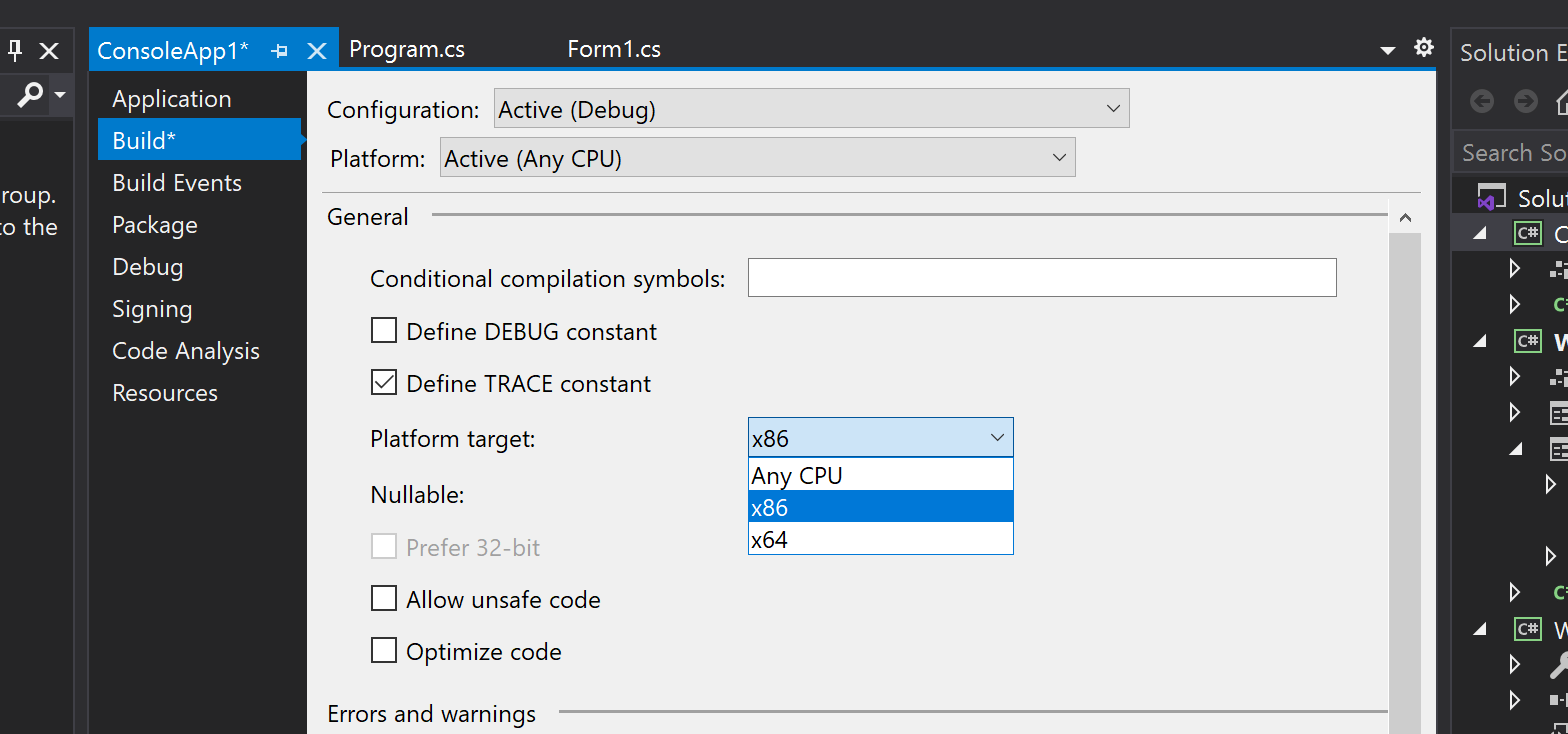
NOTE: Remember that COM is platform specific technology, so you must set your application as a x86 or x64 app.
And we will use this code:
namespace ConsoleApp1
{
    using System;
    class Program
    {
        static void Main(string[] args)
        {
            Console.WriteLine("Hello World!");
            var myMail = new CDO.Message();
            myMail.Subject = "Sending email with CDO";
            myMail.From = "mauricio.rojas@mobilize.net";
            myMail.To = "orellabac@gmail.com";
            myMail.HTMLBody = "<h1>This is a message.</h1>";
            myMail.Configuration.Fields["http://schemas.microsoft.com/cdo/configuration/sendusing"].Value = 2;
            myMail.Configuration.Fields["http://schemas.microsoft.com/cdo/configuration/smtpserver"].Value = "localhost";
            myMail.Configuration.Fields["http://schemas.microsoft.com/cdo/configuration/smtpserverport"].Value = 25;
            myMail.Configuration.Fields.Update();
            myMail.Send();
            myMail = null;
        }
    }
}
Step 4.
Run your code.
NOTE: you will need an stmp server. I used for example a test server like smtp4dev.
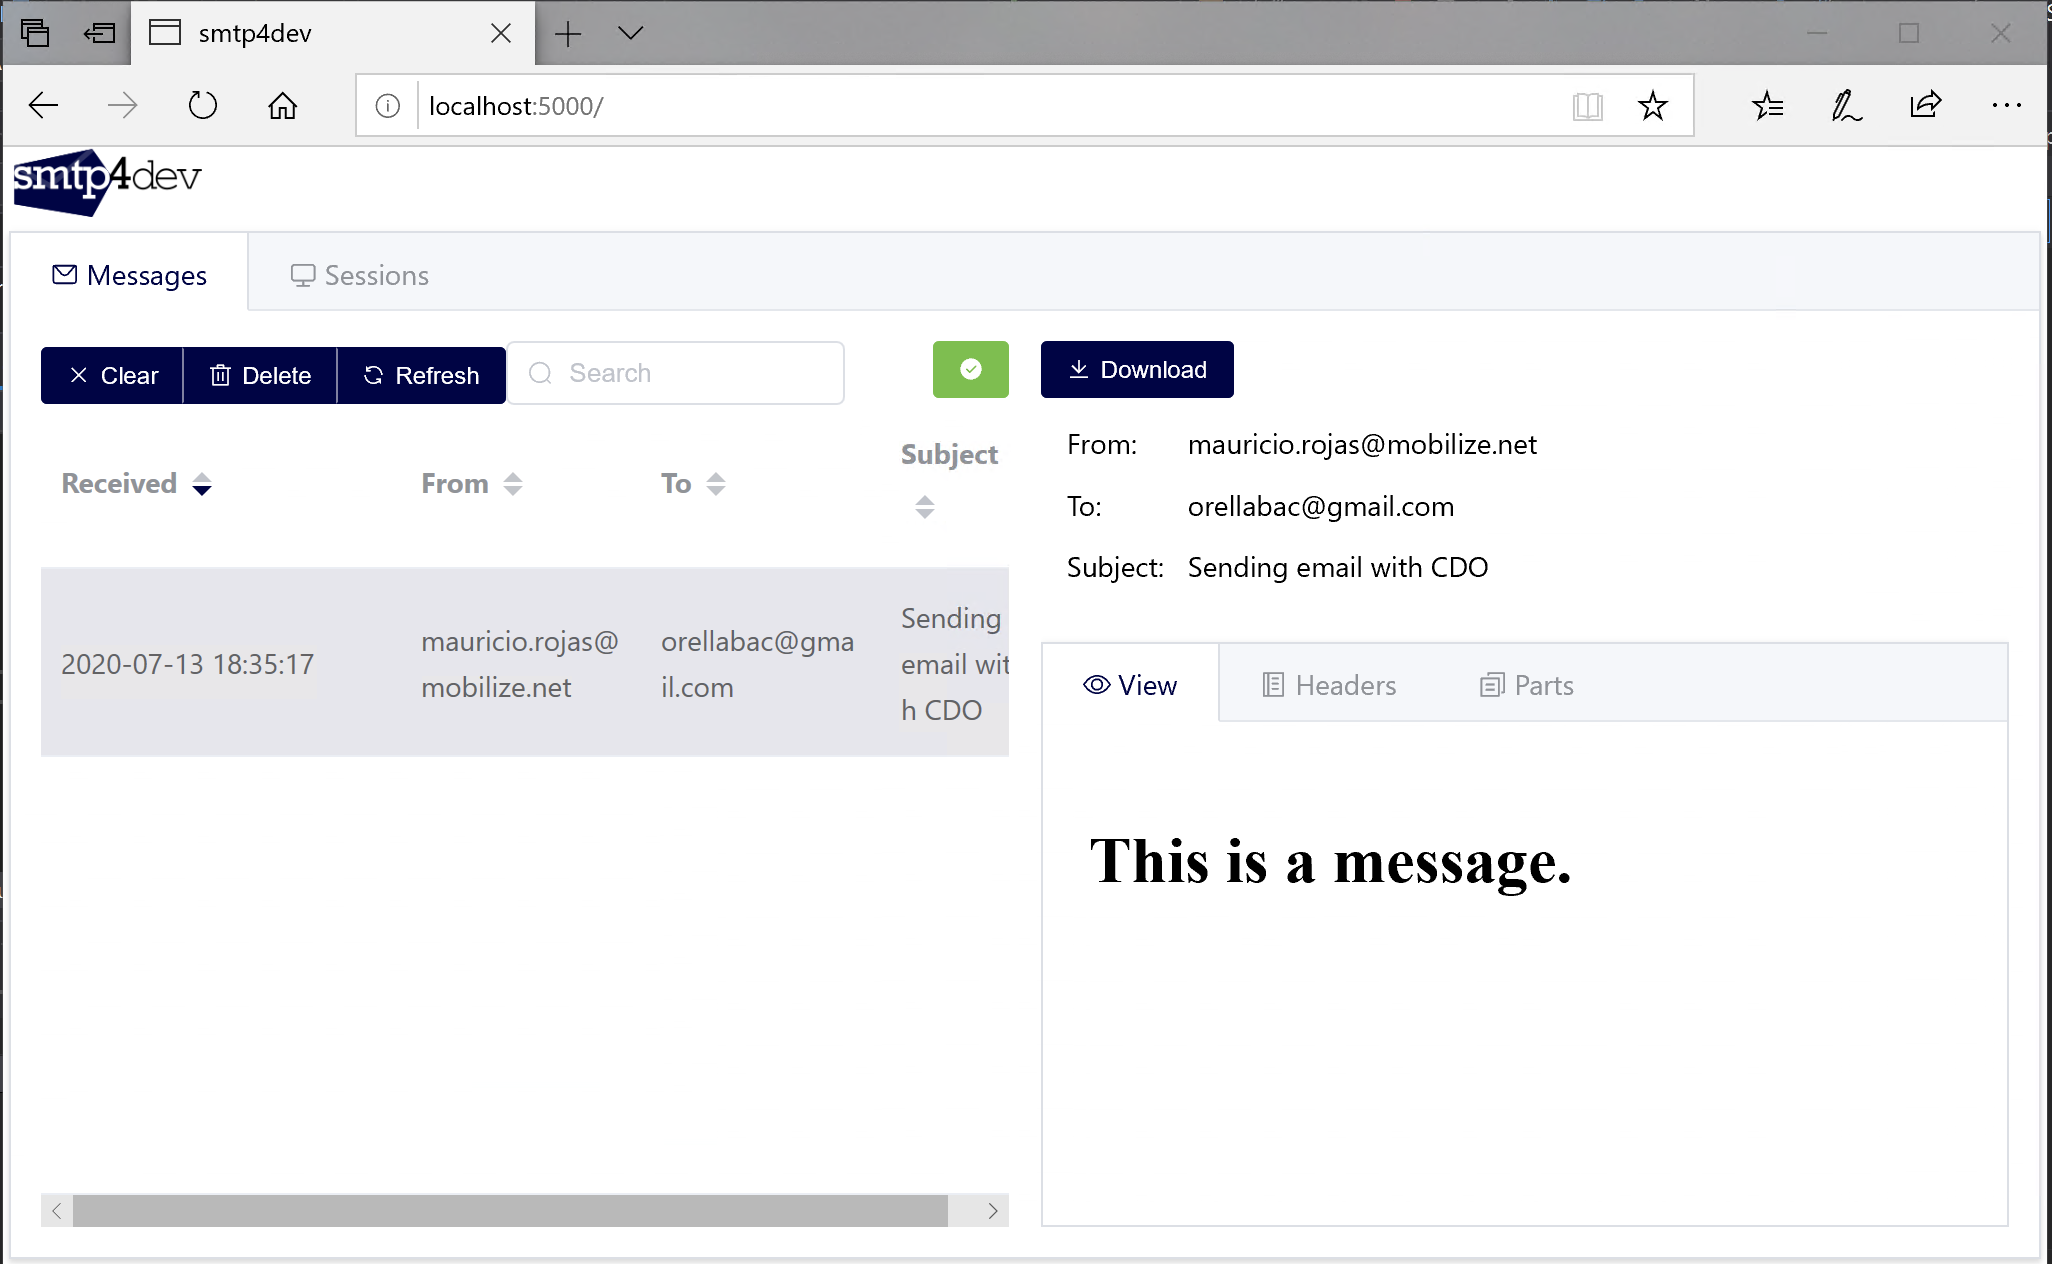
So far so good!
Just notice something. If you go to the command line and run: dotnet build, you will get this error:
Microsoft Windows [Version 10.0.18363.836]
(c) 2019 Microsoft Corporation. All rights reserved.

M:\COMinNETCore\ConsoleApp1\ConsoleApp1>dotnet build
Microsoft (R) Build Engine version 16.6.0+5ff7b0c9e for .NET Core
Copyright (C) Microsoft Corporation. All rights reserved.

  Determining projects to restore...
  All projects are up-to-date for restore.
C:\Program Files\dotnet\sdk\3.1.301\Microsoft.Common.CurrentVersion.targets(2701,5): error : MSB4803: The task "ResolveComReference" is not supported on the .NET Core version of MSBuild. Please use the .NET Framework version of MSBuild. See https://aka.ms/msbuild/MSB4803 for further details. [M:\COMinNETCore\ConsoleApp1\ConsoleApp1\ConsoleApp1.csproj]

Build FAILED.

C:\Program Files\dotnet\sdk\3.1.301\Microsoft.Common.CurrentVersion.targets(2701,5): error : MSB4803: The task "ResolveComReference" is not supported on the .NET Core version of MSBuild. Please use the .NET Framework version of MSBuild. See https://aka.ms/msbuild/MSB4803 for further details. [M:\COMinNETCore\ConsoleApp1\ConsoleApp1\ConsoleApp1.csproj]
    0 Warning(s)
    1 Error(s)

Time Elapsed 00:00:00.97
Why does dotnet build fail for projects with COM?
Well, it is by design. dotnet build is meant to be cross platform, but COM is not a cross platform technology.You can still use msbuild.exe or VS to build the app. Is important to remember this specially for continuous integration builds.
Using COM from a .NET Core Windows Forms App
NOTE: remember that in order to use Windows Forms in .NET Core you need at least VS 2019 16.5. If you have a previous version you should update. Otherwise the designer won't work.
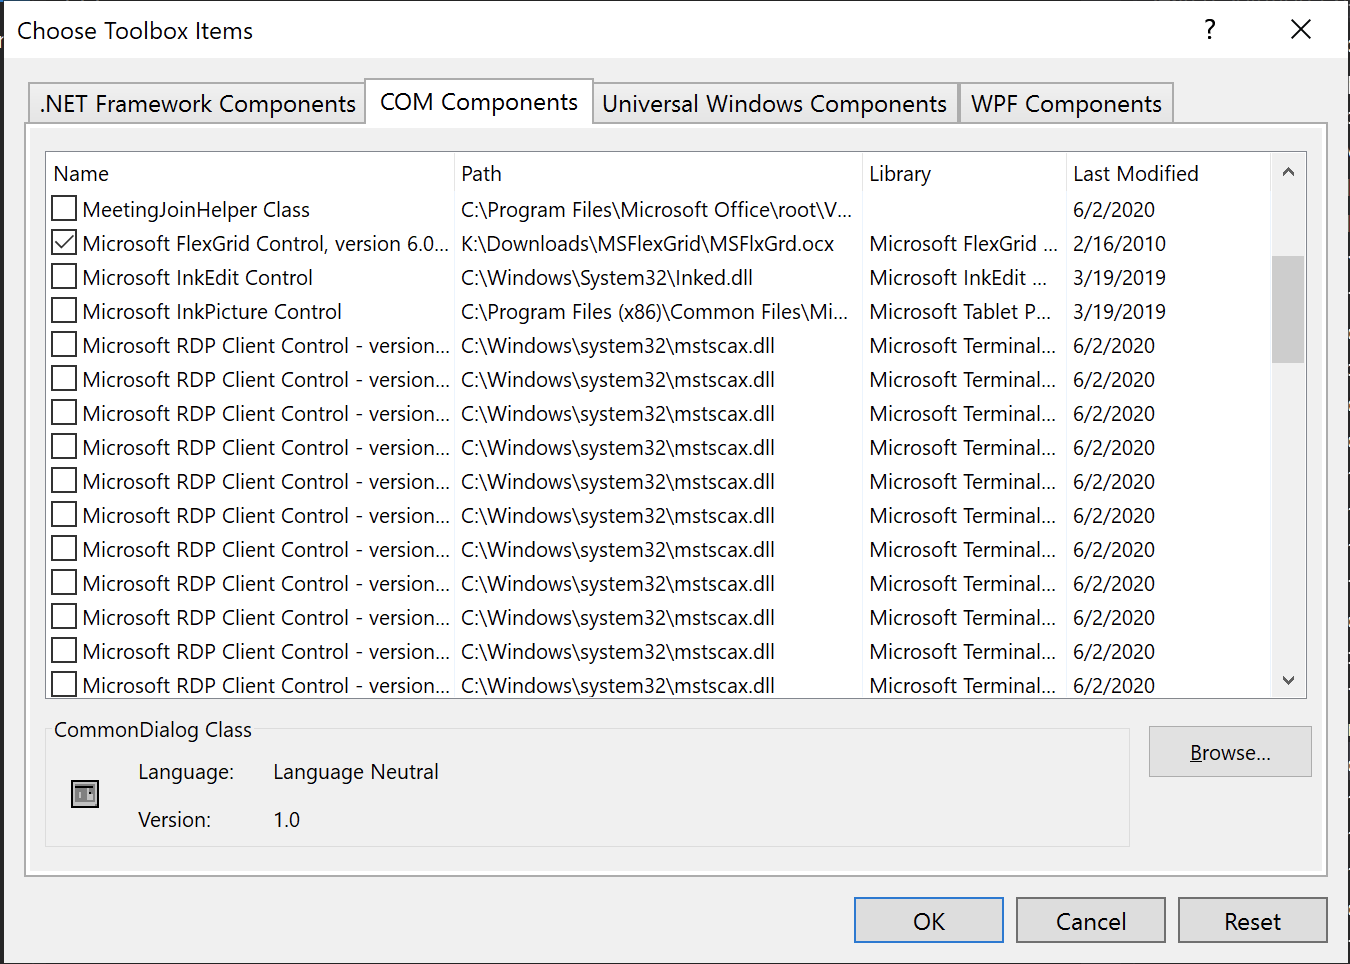
To do these tests I will use the MSFlexGrid 32-bit ActiveX Control. This control was part of VB6 and we usually work with it when modernizing VB6 apps. So if you are planning on modernizing your VB6 app to .NET Core this might be interesting for you.
To install MSFlexGrid in Windows 10 download the Service Pack 6 for VB6. You do not need to install everything you can open the msi with a tool like 7zip and extract the msflexgrd.ocx file.
Run cmd as Administrator from the command prompt execute regsvr32 msflexgrd.ocx and that should be it.
Step 1.
Create a C# Windows Forms App using the wizard. Remember to set your app as an x86 application.
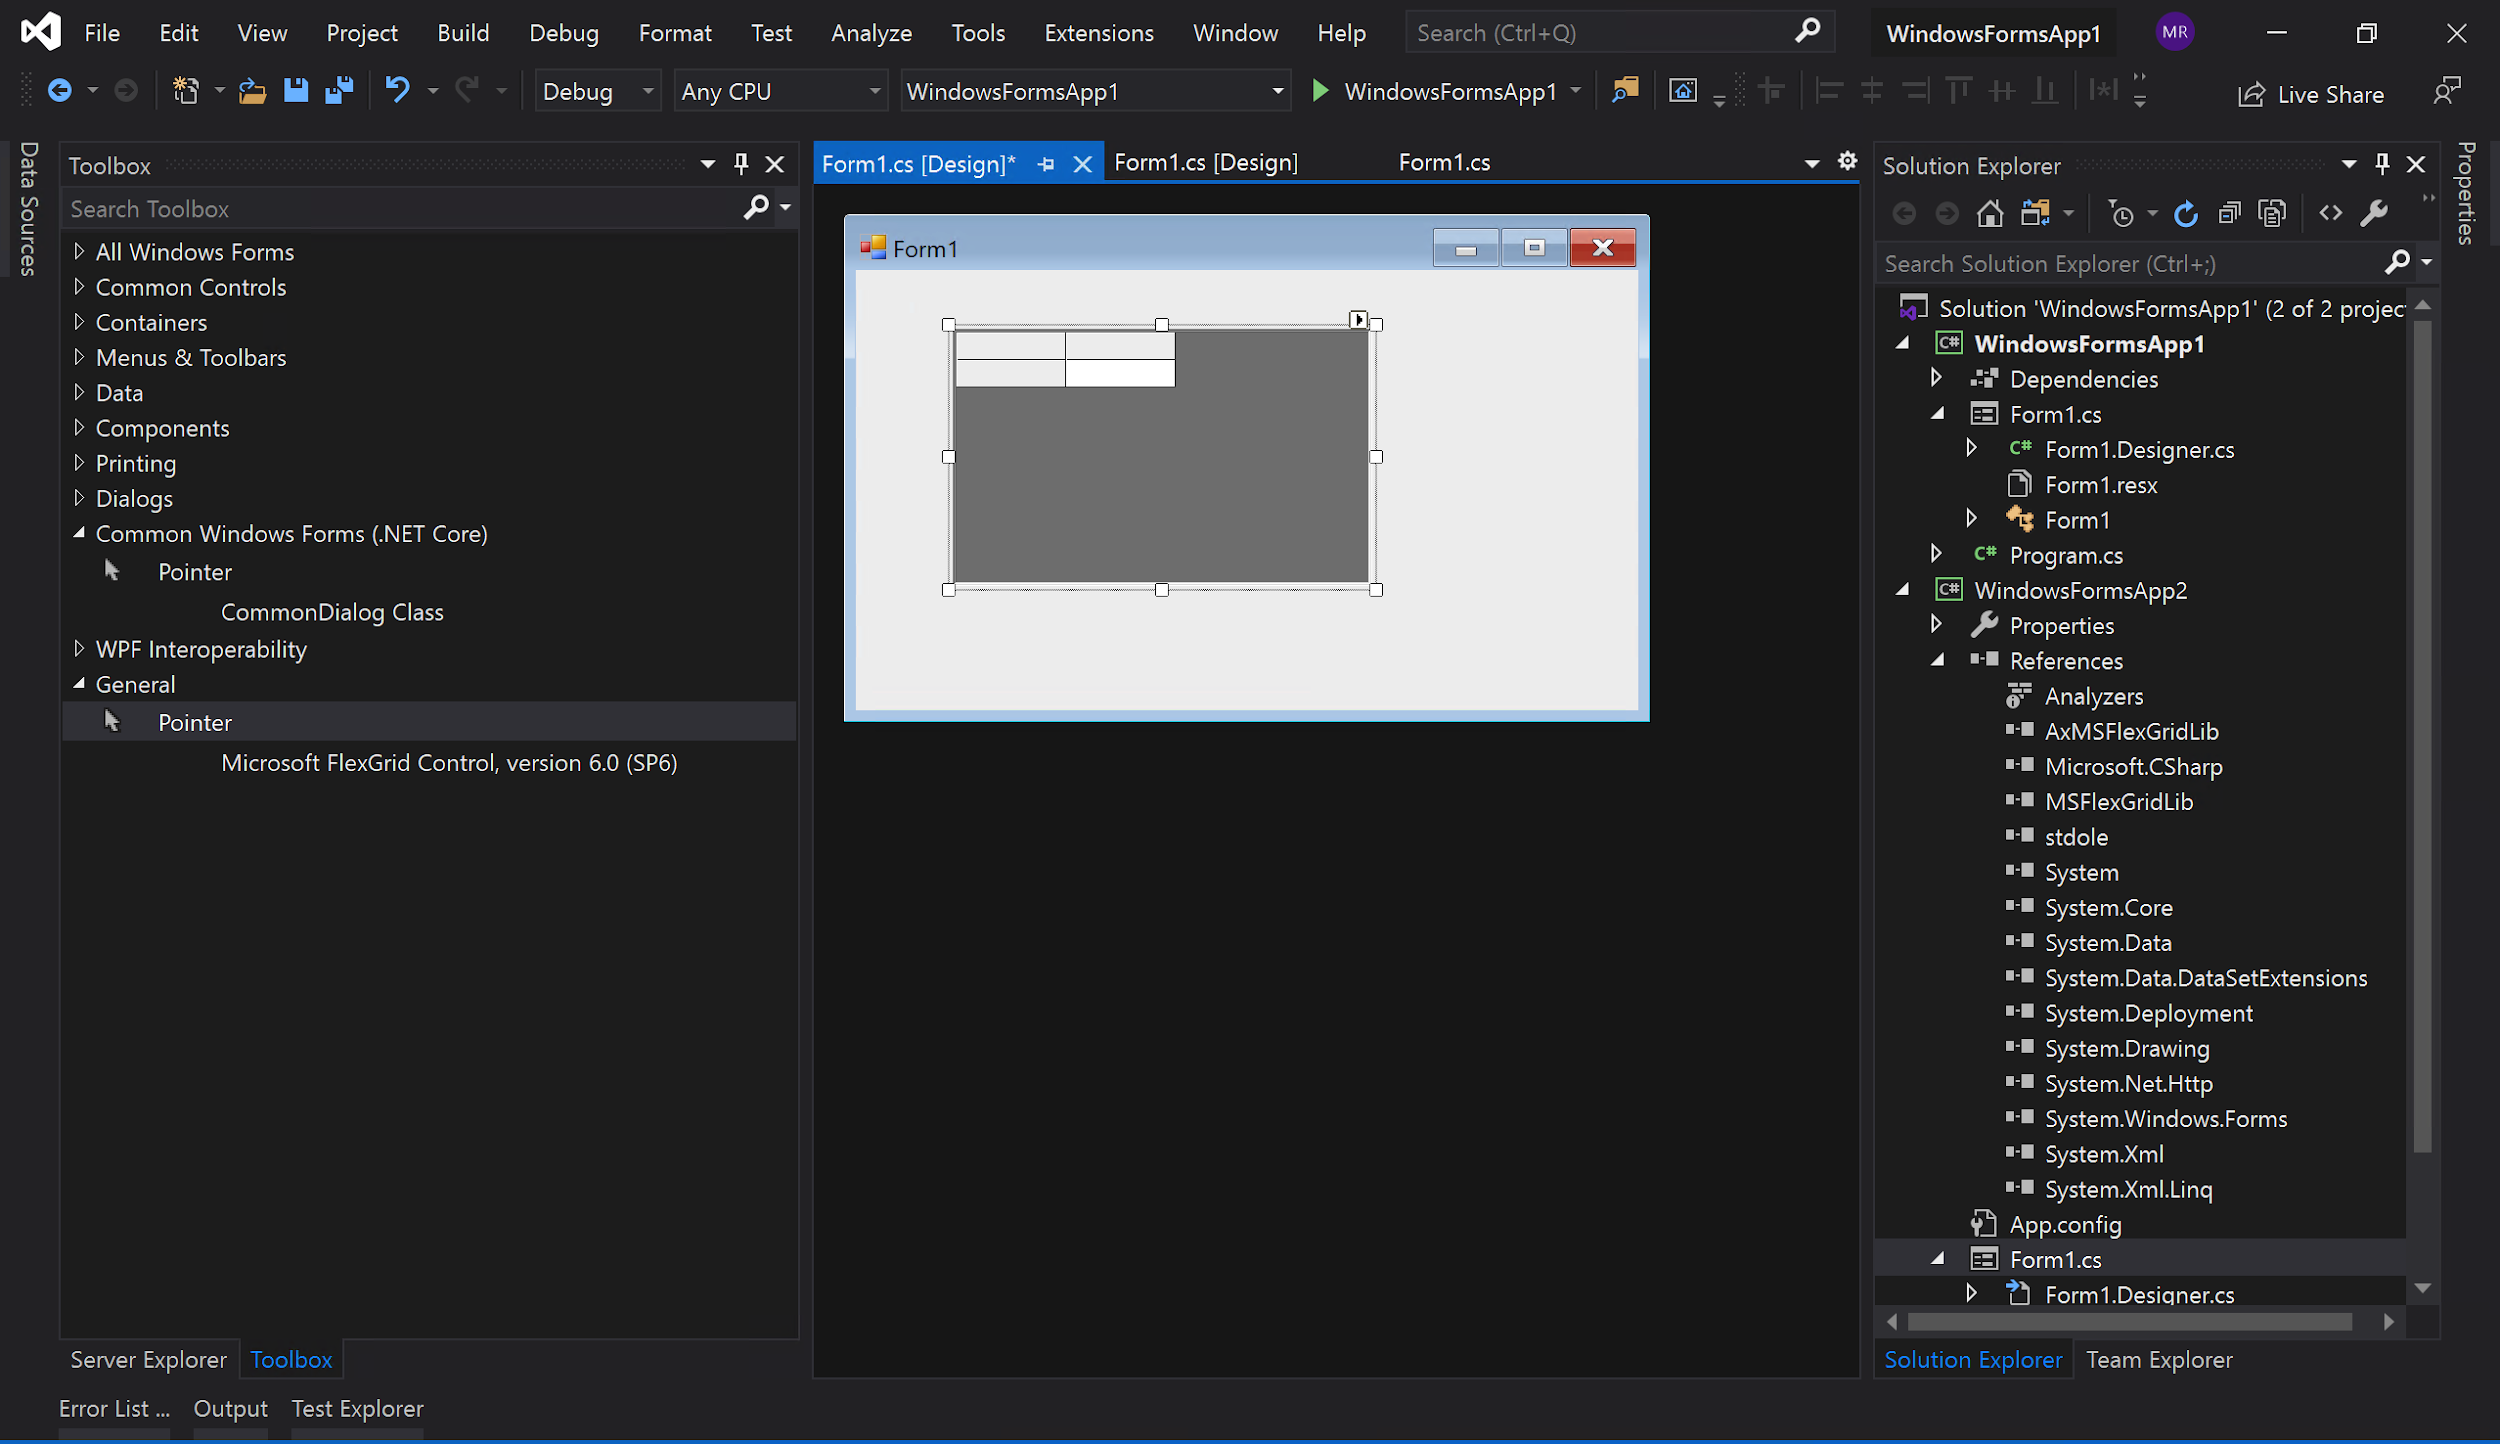
Step 2.
Open your form and go to the Component Toolbar to add a new control.
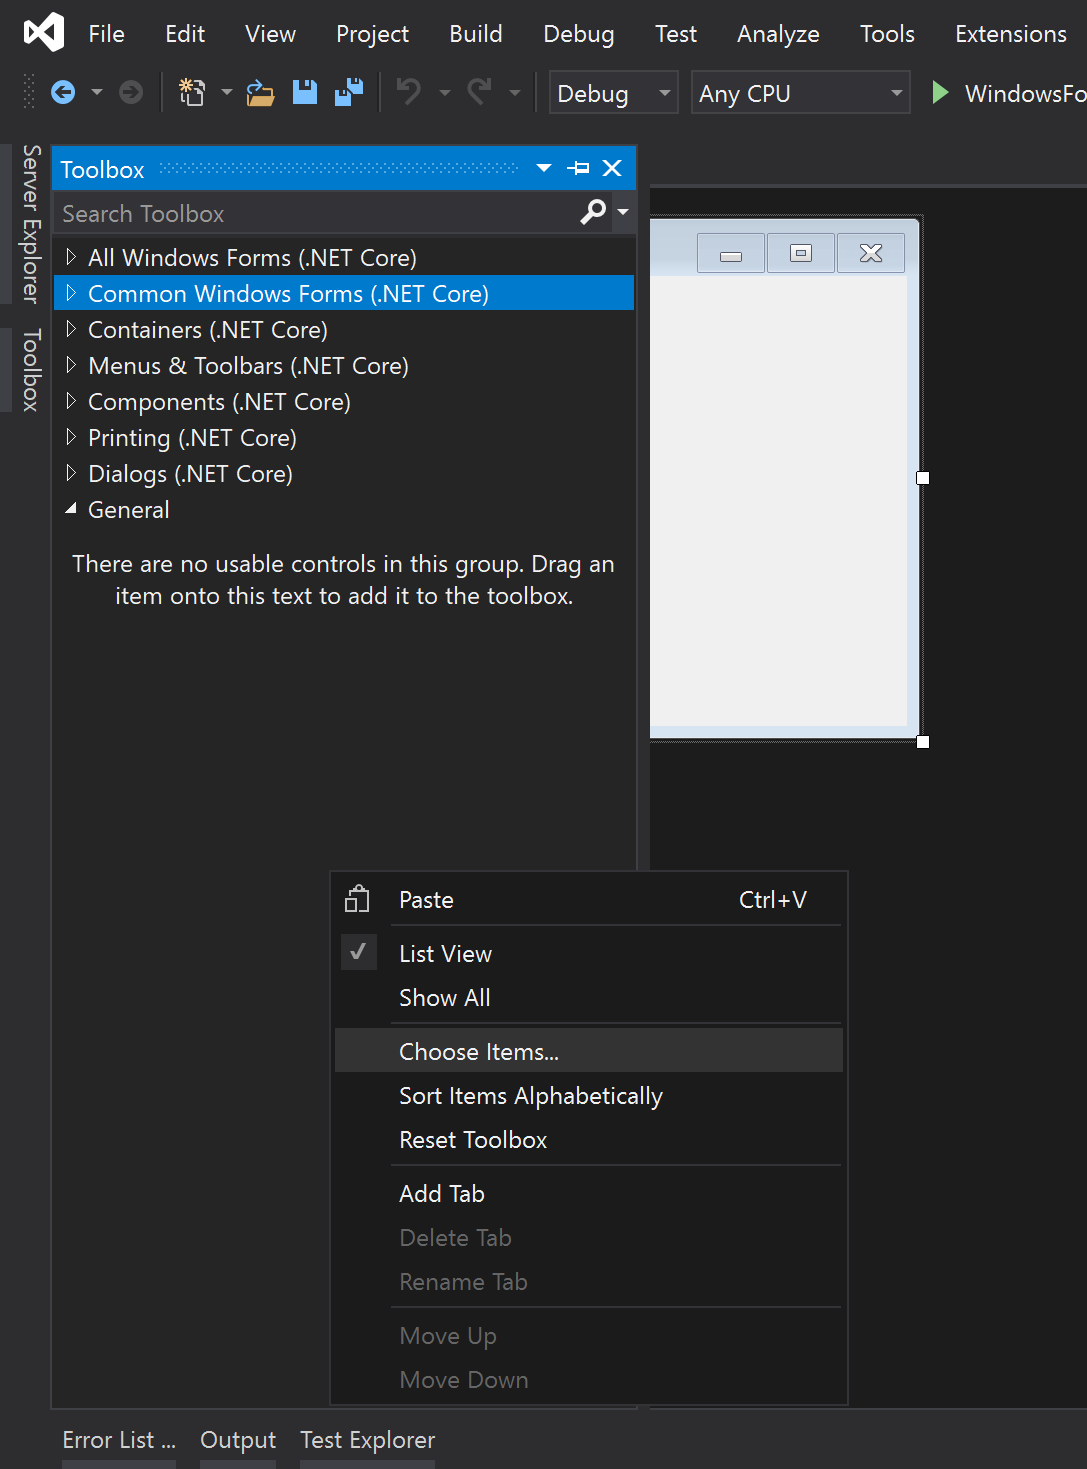
Select the Microsoft Flexgrid:
And ....
Mmm wait....
You won't see any control on the toolbar!!
Well the thing is that the current Windows Forms designer does not support ActiveX controls. You can still use ActiveX but currently it will need some hacks.
Step 2 with Hacks
- Create a new C# .NET Framework Windows Forms application.
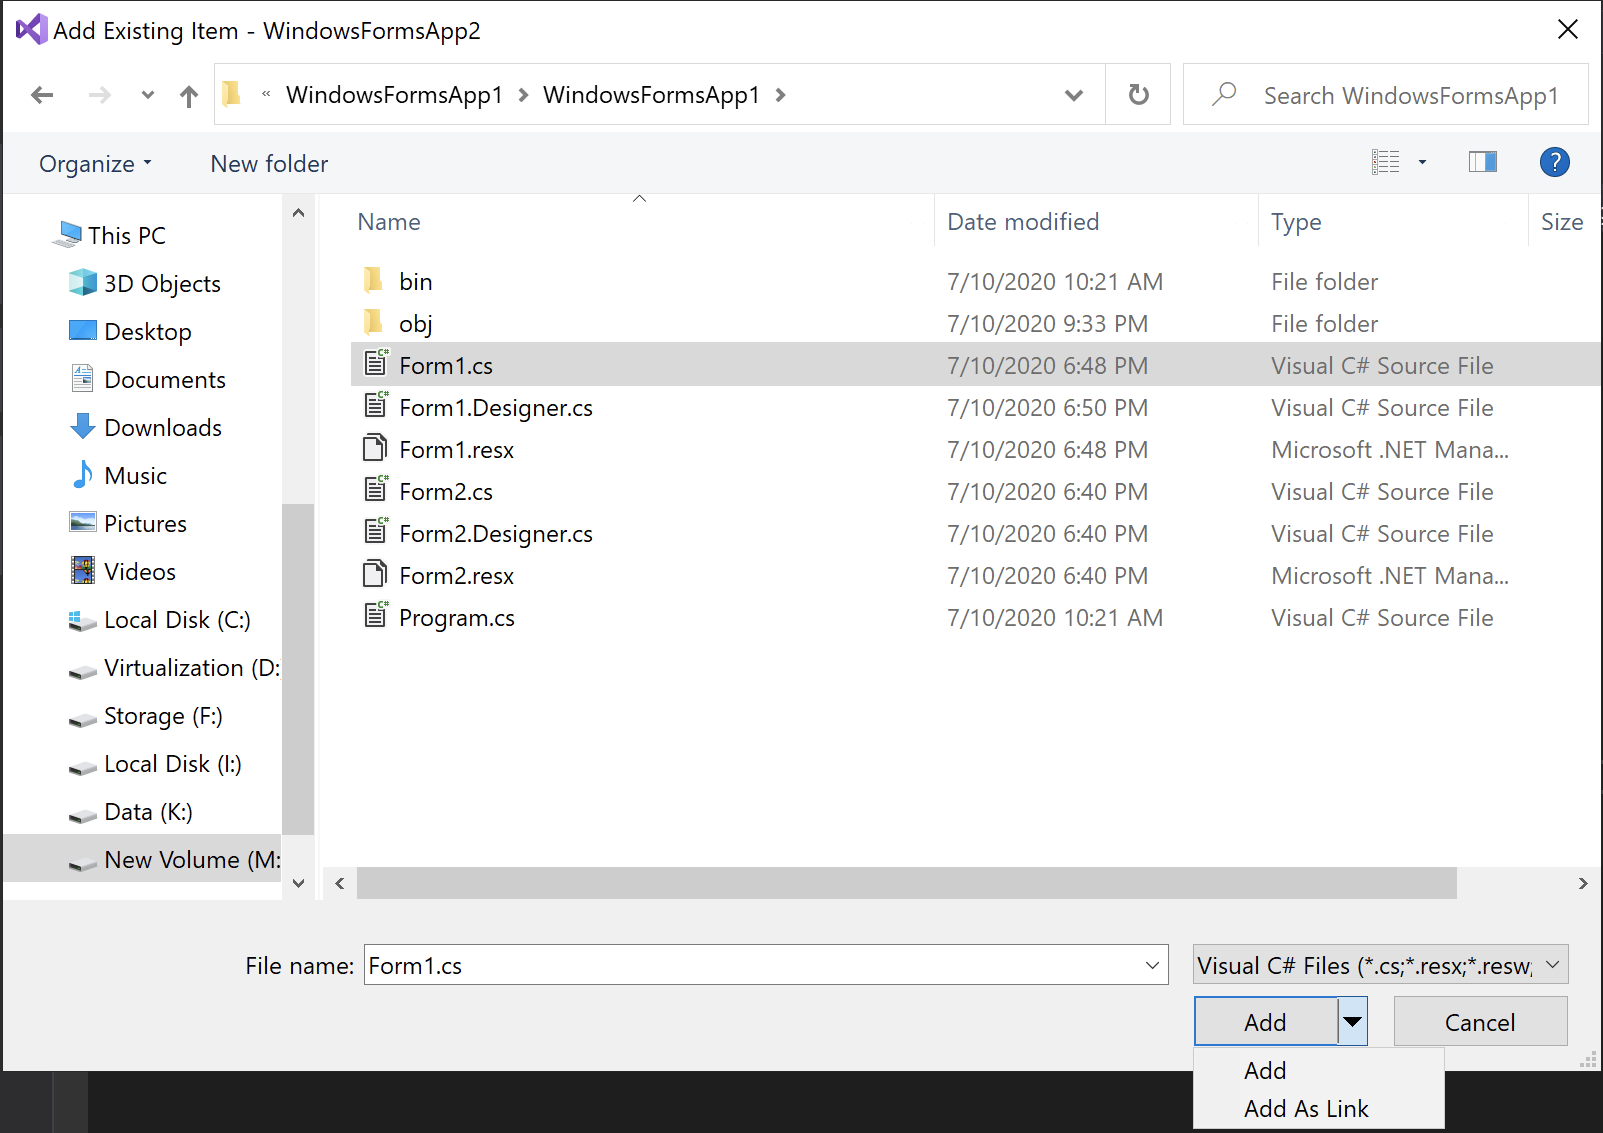
- Right Click on your new project and select Add Existing...
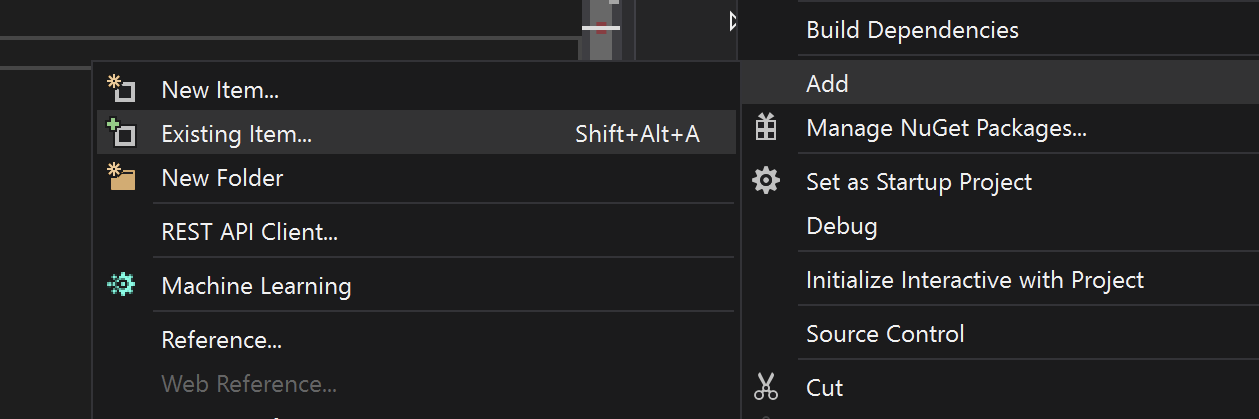
- Search for your already existing form but select Add as Link (notice that the icons will look a little different for those files)
- Ok, now you can start adding COM components.
Step 3
This is the only current way I know for adding COM components using the designer (at this point). However there are several limitations.
While you are adding your controls to your form close all the Windows Forms .NET Core Designer windows. If you get an error like:
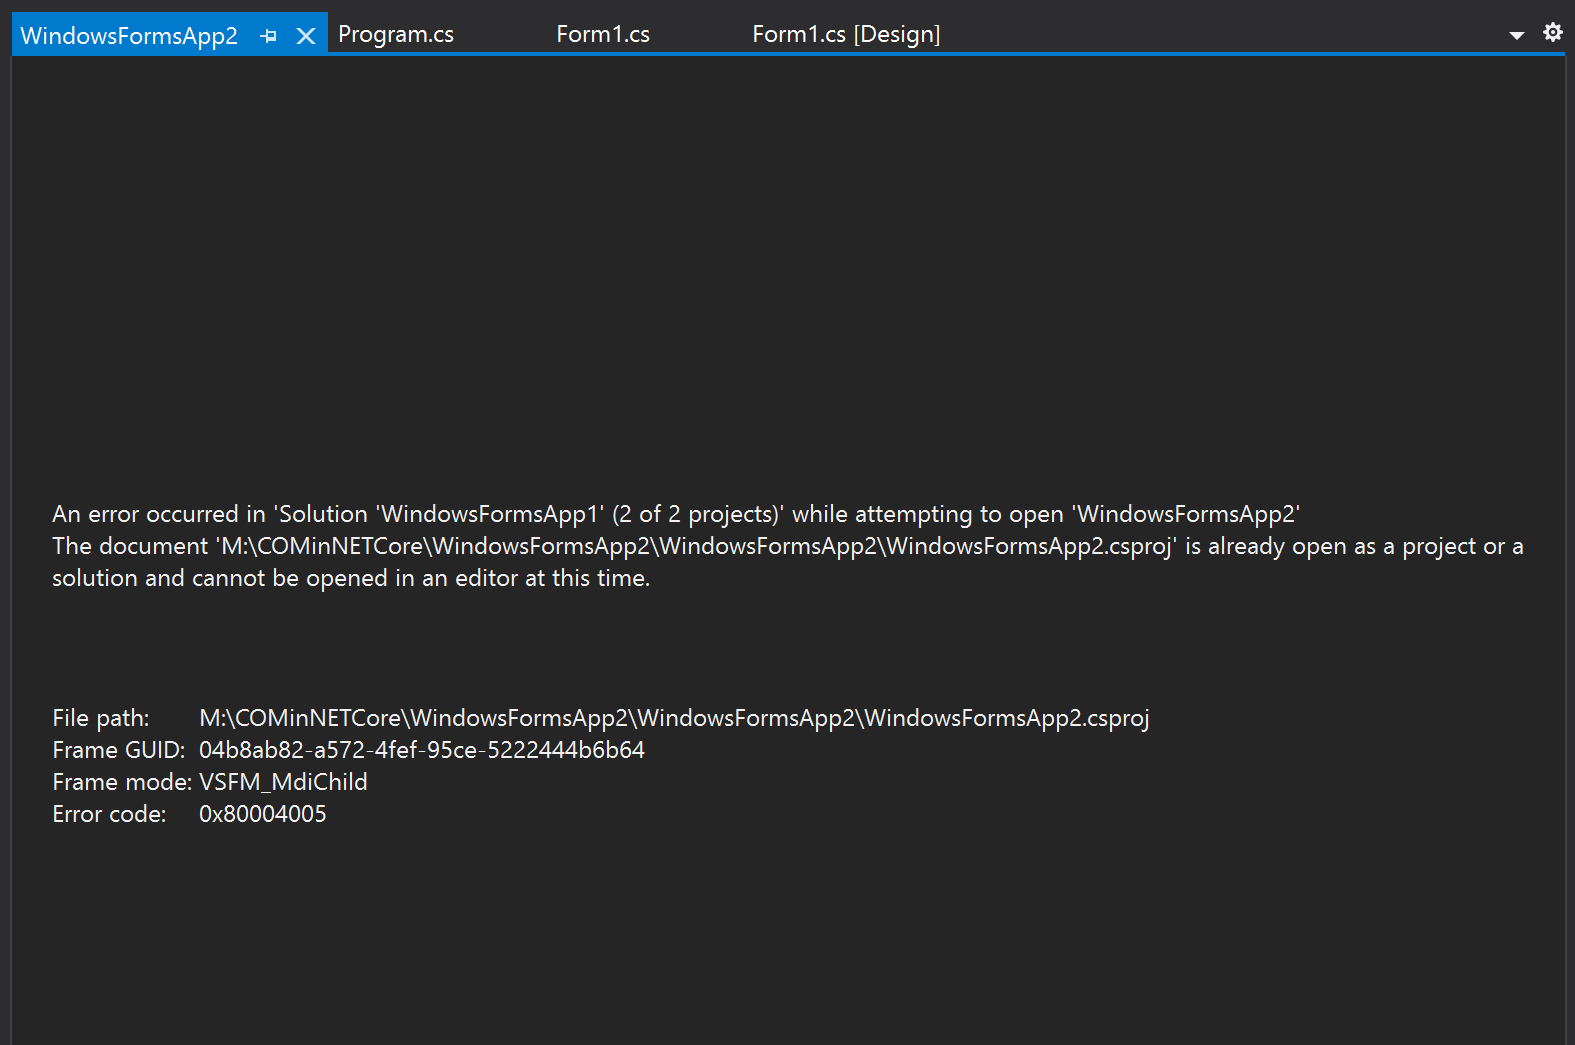
Don't worry. It is normal. Just restart Visual Studio.
It is important to notice that the version of Windows Forms in .NET Core has some subtle differences: Specially with fonts. The default font in .NET Framework is Sans Serif while in .NET Core is Segou UI 9pt.
This difference is very important. For example you might notice that the designer looks crazily big if you open the form from the .NET Framework or from .NET Core. One important thing that I would recommend is to be careful with the AutoScaling.
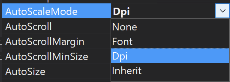
By default it is set to Font, which is very problematic due to the font changes. Setting it to Dpi will help you.
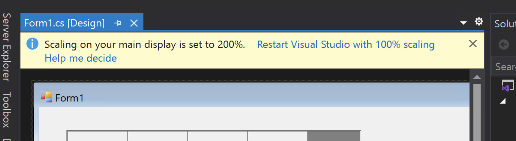
You might get some warning about scaling. I prefer to set it to 100% when using ActiveX controls to get a more accurate designer experience of how the form will look when it is run.
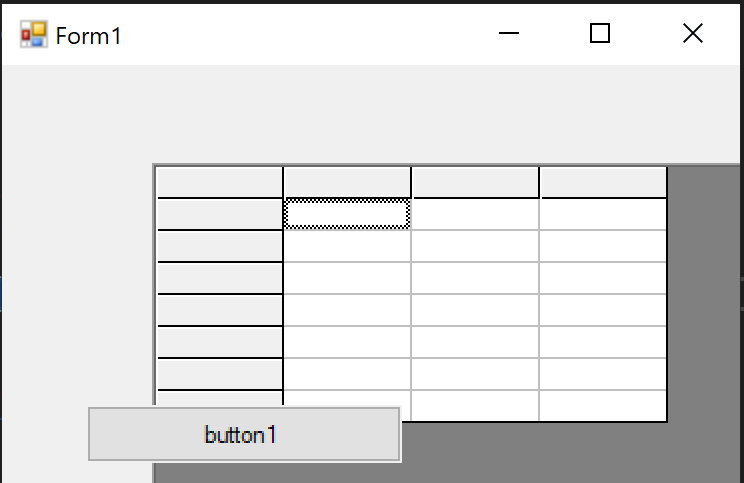
After taking these hacks in consideration, you will be able to add ActiveX controls and manipulate them in your .NET Framework project.
When you are done editing your form:
- Save All
- Unload project
- Right click and select edit
- Copy COM References
You need to add those COM References to your .NET Core project.
<ItemGroup>
    <COMReference Include="AxMSFlexGridLib">
      <Guid>{5E9E78A0-531B-11CF-91F6-C2863C385E30}</Guid>
      <VersionMajor>1</VersionMajor>
      <VersionMinor>0</VersionMinor>
      <Lcid>0</Lcid>
      <WrapperTool>aximp</WrapperTool>
      <Isolated>False</Isolated>
    </COMReference>
    <COMReference Include="MSFlexGridLib">
      <Guid>{5E9E78A0-531B-11CF-91F6-C2863C385E30}</Guid>
      <VersionMajor>1</VersionMajor>
      <VersionMinor>0</VersionMinor>
      <Lcid>0</Lcid>
      <WrapperTool>tlbimp</WrapperTool>
      <Isolated>False</Isolated>
      <EmbedInteropTypes>True</EmbedInteropTypes>
    </COMReference>
    <COMReference Include="stdole">
      <Guid>{00020430-0000-0000-C000-000000000046}</Guid>
      <VersionMajor>2</VersionMajor>
      <VersionMinor>0</VersionMinor>
      <Lcid>0</Lcid>
      <WrapperTool>primary</WrapperTool>
      <Isolated>False</Isolated>
      <EmbedInteropTypes>True</EmbedInteropTypes>
    </COMReference>
  </ItemGroup>
Another thing to notice is: do not try to edit your form using the .NET Core Windows Forms designer. You will lose your changes.
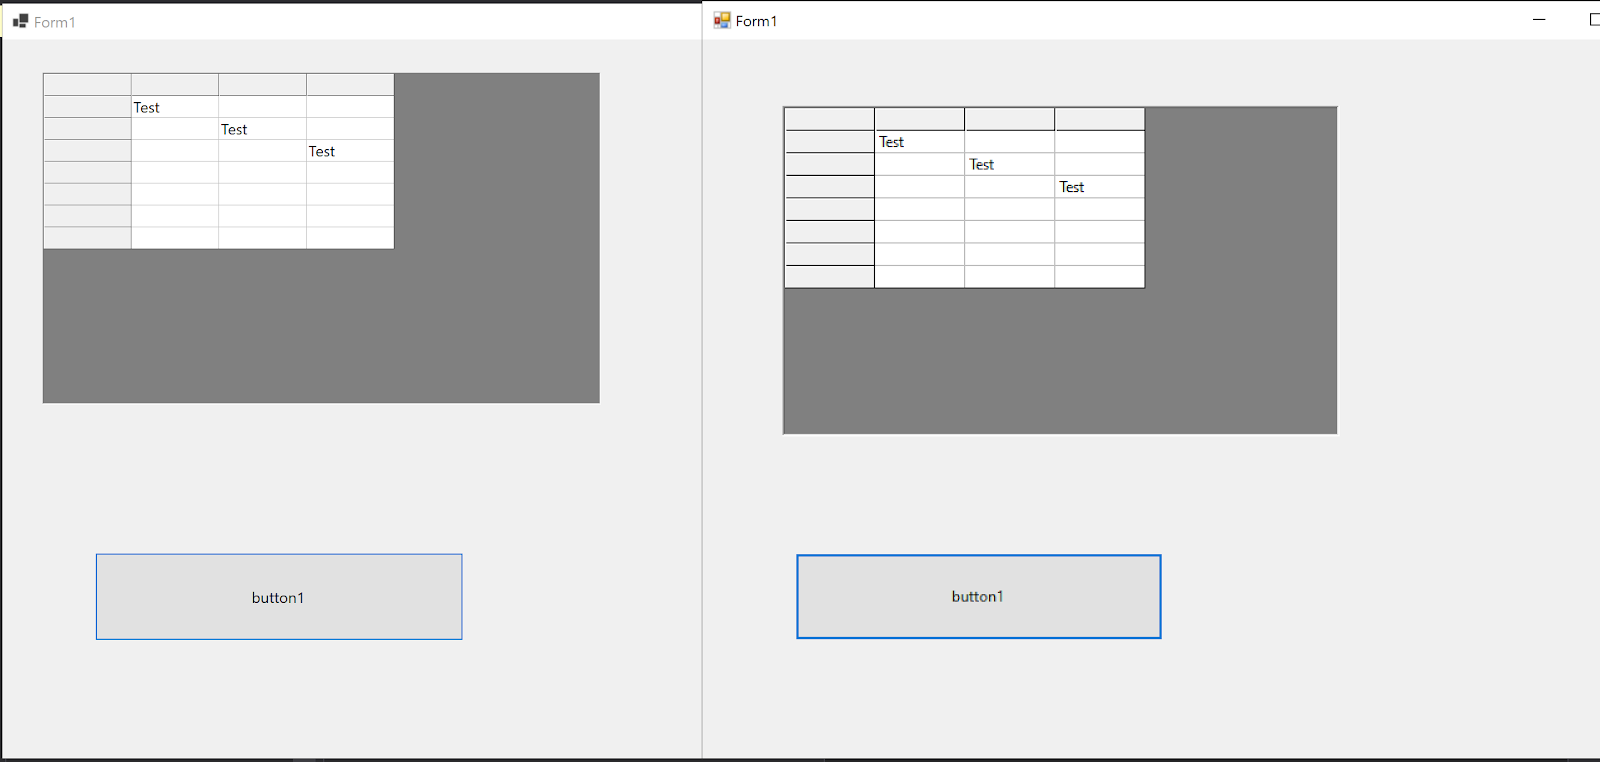
NOTE: during my test it happened that If I ran the form using the .NET Framework project I got some strange overlap from the ActiveX control:
But it worked perfectly in .NET Core, I am not sure of the reason of this behavior.
In the end you can get both versions to look the same:
Using COM from a .NET Core Web App
Step 1.
Create a .NET Core Web App using the Visual Studio wizard and select the MVC template.
Step 2.
Add a COM reference. For this example let’s use the same Microsoft CDO reference we used for the Console App.
Let’s add some code in the HomeController.cs.
  public IActionResult Index()
        {
            var myMail = new CDO.Message();
            myMail.Subject = "Sending email with CDO";
            myMail.From = "mauricio.rojas@mobilize.net";
            myMail.To = "orellabac@gmail.com";
            myMail.HTMLBody = "<h1>This is a message.</h1>";

            myMail.Configuration.Fields["http://schemas.microsoft.com/cdo/configuration/sendusing"].Value = 2;
            myMail.Configuration.Fields["http://schemas.microsoft.com/cdo/configuration/smtpserver"].Value = "localhost";
            myMail.Configuration.Fields["http://schemas.microsoft.com/cdo/configuration/smtpserverport"].Value = 25;
            myMail.Configuration.Fields.Update();
            myMail.Send();
            myMail = null;
            return View();
        }
Now build your project.... Oops it wont compile you will get this strange error:
1>------ Rebuild All started: Project: WebApplication1, Configuration: Debug Any CPU ------
1>C:\Program Files\dotnet\sdk\3.1.301\Sdks\Microsoft.NET.Sdk.Razor\build\netstandard2.0\Microsoft.NET.Sdk.Razor.CodeGeneration.targets(99,5): error : The assembly path obj\Debug\netcoreapp3.1\Interop.CDO.dll is invalid. Assembly paths must be rooted.
1>Done building project "WebApplication1.csproj" -- FAILED.
========== Rebuild All: 0 succeeded, 1 failed, 0 skipped ==========
There is an issue related to this problem in Github but at the time of this post is still open.
Step 2 with Hacks
- Create a new project using the .NET Core Class Library template (I usually call it COMRefs).
- Add your COM References to this library.
- Do not add any code, just build.
- Take the Compiled Interop Libraries for example bin\Debug\netcoreapp3.1\Interop.CDO.dll and Interop.ADODB.dll and copy them to a Libs folder.
- Now Right click your Web Application. Select Add COM Reference but now use the browse option and add the files from the Lib folder.
- Remember that you .NET Core Web App must be set to x86 or x64 depending on your reference.
- Now you can build and run.
Summary
Well this post got a little long, but I wanted to show that COM can be used from .NET Core apps. The tooling is improving each day but at least today you will have to do a couple of hacks in order to be able to use it in certain scenarios
If you are curious you can check the code in Github
